Top 10 Best Active Directory Management and Reporting Software
With increase in the network sizes, data risks, demands for compliance and security of data, administrator has to perform various functions including managing groups, organizational units, shares, password policies, checking performance, audit reports, compliance checking, defining user roles, multiple domain controlling, and much more.
Managing the Active Directory includes numerous complex tasks such as adding or deleting user accounts, Active Directory auditing, enabling logs for deploying compliance regulations, safeguarding Active Directory and user roles, assuring consistency while providing centralized configurations, user management, account de-provisioning, maximizing the reach of Active Directory to other environments, and much more.
- Domain Management: Simplifies adding domains in Windows Active Directory to a much extent. Active Directory management tool allows creating and managing OUs, adding computers in domains, managing available computers in domain, and so on.
- Computer/Server Management: Allows managing single and multiple computers in workgroup, current and remote domain, performs numerous tasks like move computers, enable/disable/add computers, change attributes (like Managed by, location, description), add jobs, install/start up/control services, run queries. System administrator can simultaneously send Wake up request, shut down, or Query Active Directory for multiple computers.
- Users Management: Allows managing single as well as multiple users simultaneously by creating and managing users’ accounts, configuring users’ attributes, password resets, enabling/disabling user accounts and moving multiple users from one OU to another. Other operations include unlock multiple users, delete multiple AD users, change Home Directory, change workstation permissions, view Group Membership, copying multiple users from one server to another, sending message to multiple users at once, etc.
- Groups Management: Allows creating and managing groups in bulk and specify security or distribution measures and group scope. Active Directory management tool allows managing group members and their permissions, move and copy members from containers and servers, query multiple groups and perform a number of other group management activities.
- Policies Management: Helps administrator in applying accounts’ password, account lockout and audit policies on all users’ accounts in a domain.
- Tasks Management: Allows administrator to perform all tasks management related operations on any computer within a domain.
- Printers Management: Allows installing and managing printers on a single and multiple computers in current or remote domain. Simplifies numerous tasks related to printers such as viewing/managing all available printers, copy printer to target server or workstation, controlling printing jobs, adding/removing a network printer, managing printer connections to a remote computer, view/purge all print jobs, view shell properties, pause printing, remove connection, etc.
- Network Share Management: Allows creating and managing network shares for both local and remote computers from a central location. Numerous operations on shares include browsing through shares, create/delete/modify a share, view/modify share properties, view NTFS permissions, etc.
- Services and Device Management: Makes viewing, managing all Windows services and devices related to local and remote computers in a current or remote domain or workgroup much easier. Active Directory Manager tool allows selecting multiple computers and install, control and start/stop/pause/resume/restart/refresh/delete services on them, thus, eliminates need to repeat the same process for required computers and saves time and efforts.
- Events Management: Allows managing event logs, allows viewing event logs from multiple computers, filtering all event logs, clear event logs, taking backups of event logs, open previously saved event backups, etc.
- Centralized Registry Management: Allows accessing Windows Registry from local as well as remote computers and managing registry keys and values.
- Disk Space Management: Allows viewing and managing disk space of selected computer and performs shell functions such as Open, Explore, search, cut, copy, paste, etc.
- Exchange Management: Allows managing users’ mailboxes on Exchange Server form a centralized location. Administrator can now easily create user mailboxes on Exchange Server, view properties of users’ mailboxes and can delete mailboxes.
- Active Directory OU Management: Simplifies managing AD OU in current or remote domain such that administrator can view directory attributes, CPU information, logged on users, system BIOS version, environment variables, network specifications (DNS, Network Card, etc.), group membership, installed software for all OUs present in the AD easily.
- DFS Management: Allows creating both stand-alone and domain-based DFS roots, viewing available DFS, adding new links to DFS roots, deleting roots, deleting single or all links.
- Remote Computer Job Management: Allows creating/modifying/deleting scheduled jobs on remote computer. Modifications on existing jobs include stopping, running and resuming them. Common examples of scheduled jobs are Data backup, Disk Defrag, Virus Scan and Windows Updates.
- AD Reporting Management: Automatically generates over 50 customizable reports for users, computers, groups, password, OUs and other objects covering AD query, WMI query and AD reporting. Allows viewing reports on all AD objects, print, filter and save reports in HTML, CSV, PDF, RTF and TXT formats.
- WMI Management: Allows creating and executing WMI queries. The output of a WMI query can be saved in CSV, HTML, PDF, RTF or TXT file format. Active Directory Manager tool lists all namespaces, WMI classes, provides and system classes for creating and modifying WMI query.
AD Management and Reporting is a complete solution for complex functionalities of built-in Windows administration tools. The tool mainly performs two functions – Active Directory Management and Active Directory Reporting. It serves as a centralized single platform and effectively manages network-wide OUs, computers, users, groups, shares, Domains, Services, Event Logs, Registry, Printers and much more. Active Directory Manager software also generates reports on various AD objects.
Top 10 Best Active Directory Management & Reporting Software:
DYNAMICGROUP
DynamicGroup enables you to automate group memberships of Active Directory objects. It helps you to accelerate AD group management and to avoid over-permissioning of users. You can create self-updating groups based on attributes and OUs.
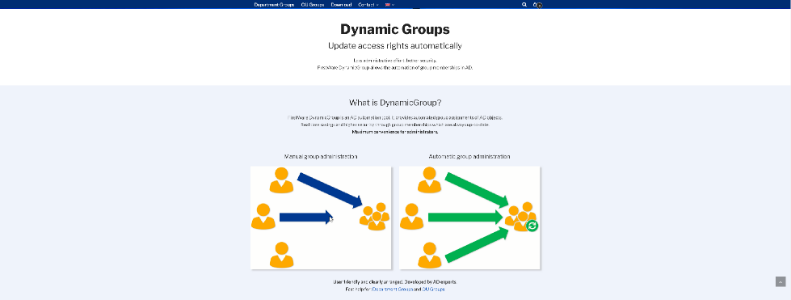
DYNAMICGROUP
ADManager Plus
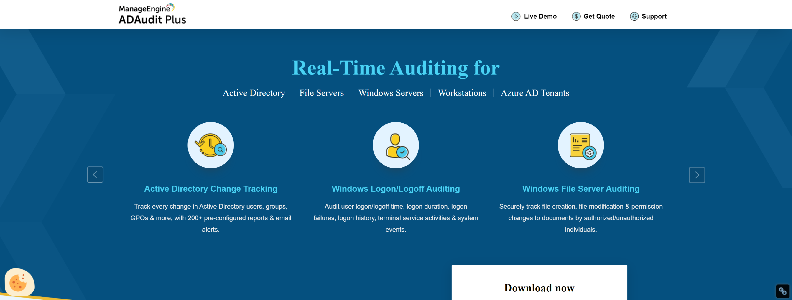
ADAudit Plus offers real-time monitoring, user and entity behavior analytics, and reports; together these features help secure your AD environment and more.
ADManager Plus
LEPIDE
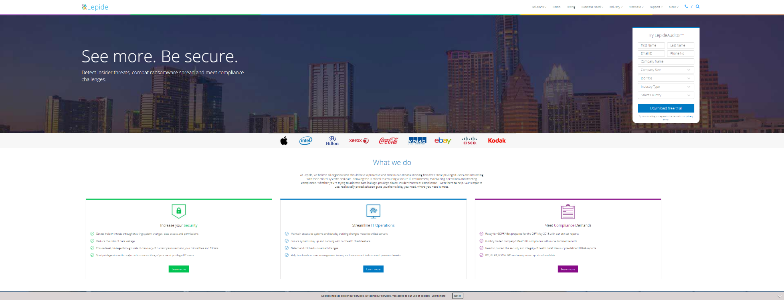
Lepide are a provider of change auditing solutions to help IT teams increase security, streamline systems management and meet compliance mandates.
LEPIDE
MANAGEENGINE
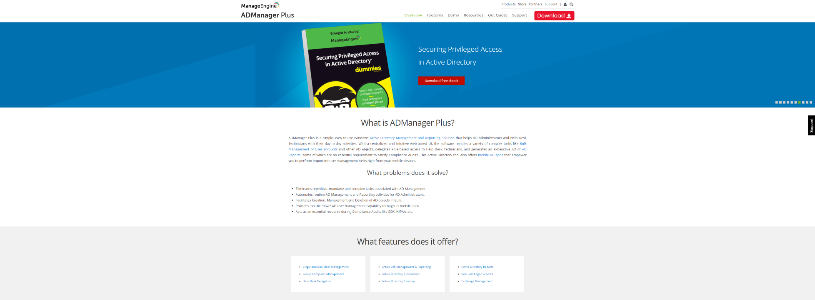
Introduction about ADManager Plus and its features: Active Directory Management, Reporting, Delegation and Workflow Management Software. Ready-made reports on AD users, groups, computers and more. Bulk Management of AD users, groups, contacts and computers using csv files. This solution is completely Script-free and web-based.
MANAGEENGINE
QUEST
Simplify IT management and spend less time on IT administration and more time on IT innovation. It’s time to rethink systems and information management.

QUEST
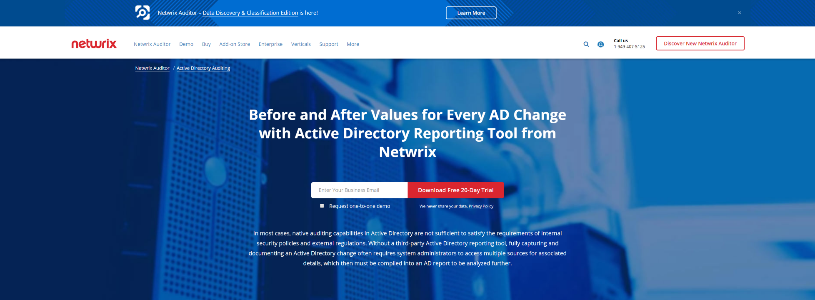
NETWRIX
Unlike other vendors offering legacy change auditing, Netwrix delivers complete visibility into hybrid cloud IT environments to protect data regardless of its location.
NETWRIX
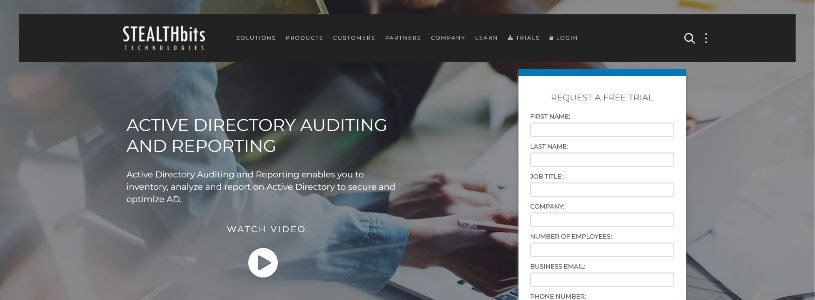
STEALTHBITS
STEALTHbits protects credentials and data from insider threats, audits changes, and automates tasks for security and compliance across your infrastructure.
STEALTHBITS
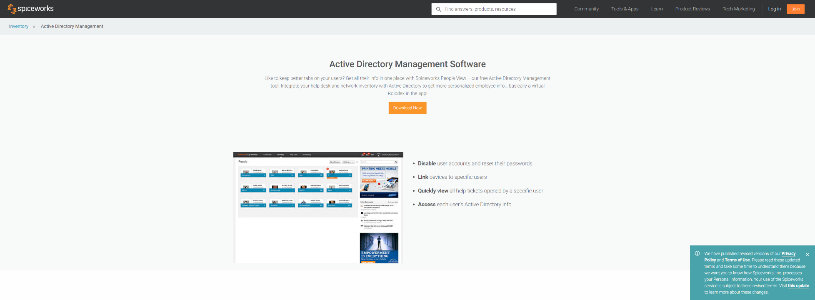
SPICEWORKS
Free Active Directory Management Tool for SysAdmins. 100% Free IT Software: No Trials, Support Fees, or Upsells.
SPICEWORKS
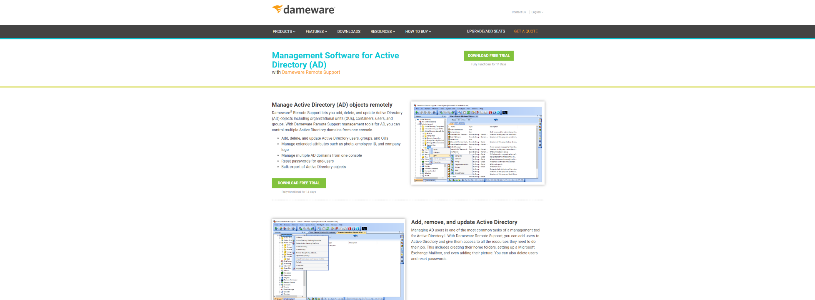
DAMEWARE
Dameware Remote Support lets you add, delete, and update Active Directory (AD) objects including organizational units (OUs), containers, users, and groups. With Dameware Remote Support management tools for AD, you can control multiple Active Directory domains from one console.
DAMEWARE
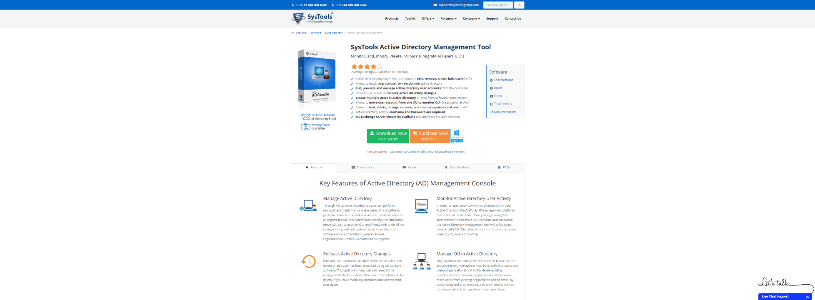
SYSTOOLSGROUP
SysTools – Simplifying Technology – Trusted by Millions of users for 180+ products in the range of Data Recovery, Digital Forensics Freeware & Cloud Backup.
SYSTOOLSGROUP
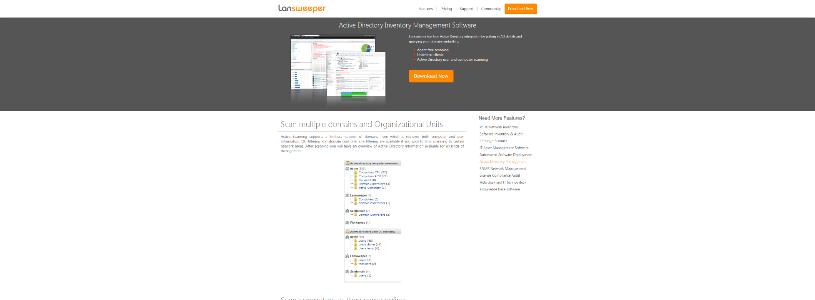
LANSWEEPER
Active Scanning supports a limitless number of domains from which it retrieves both computer and user information. OU filtering and domain controller site filtering are available if you wish to limit scanning to certain network areas. After scanning you will have an overview of Active Directory information available for all kinds of management.
LANSWEEPER
ADUCADMIN
aducADMIN+ is a powerful Active Directory Management Tool that saves you time and money. Increase security, reduce time and make life easier for your SySadmins.

ADUCADMIN
Install Active Directory – A Step by Step Guide
The Active Directory, also referred to as AD, is a technology from Microsoft designed to provide network services including DNS naming, Kerberos based authentication, secure and safe access to resources, LDAP directory services, and many others. This technology makes use of a Jet database which is utilized and accessed by a wide variety of applications, programs, and services in order to store information.
The Active Directory technology is utilized by the system administrators in order to store and save information regarding other users, launch software applications as well as programs, and assign security and safety policies. AD is used in numerous sizes and types of environment starting from a small number of users up to hundreds and even thousands of users within a global based environment.
While installing and using the Active Directory is a simple task, it is still important that you know how to install it properly. It is also equally important that you know how AD works, its basic structure, and the components of this technology. This step-by- step Active Directory Tutorial guide will help you avoid experiencing any problems in installing this Microsoft technology.
Step No. 1: Prepare for Active Directory Installation
The first step in this Active Directory guide is to prepare some things before you actually proceed with the installation. Make sure that your computer has a Windows server already installed in it. You also need to be using an administrator account that has all admin privileges in installing AD. Make sure that you can restart the system when required. An NTFS (New Technology File System) partition that has sufficient free space is also required.
Step No. 2: Plan your DNS Implementation Properly
Once you have prepared all the necessary things discussed in the step 1 of this Active Directory tutorial, you should now prepare and plan your DNS implementation properly. It is important that you understand that AD cannot function properly without DNS, so make sure that you pay attention to this step. The best thing that you can do to go over this step is to configure it manually even before you consider installing Active Directory in your system.
Step No. 3: Change the Computer’s Name
- Login using your administrator account
- Click the “Start” button then right-click on the “Computer” option
- Choose “Properties”
- Once you have the “System Information” window, look at the lower right hand corner for the “Change Settings” option
- Once the “System Property” or “System Properties” window will appear, choose the “Change” tab and enter any computer name that you prefer
- Choose the “OK” option and wait for the server to reboot.
Step No. 4: Install the Active Directory Domain Services
Once you are done renaming the computer to reflect the new role it has on your Windows server, you can now proceed with the next step of this Active Directory Tutorial guide, which is to install the AD Domain Services. The best method that you should employ in installing Active Directory or any other network services is to use the “Server Manager” interface. Here are the steps to install AD into your system:
- Click the “Start” option then choose “Server Manager”
- Once the “Server Manager” window appears, choose the option “Add Roles” located on upper right side of the window.
- The “Select Server Role” will then come up. Look for the option “Active Directory Domain Services.” This option should have a check mark on it, or if not, put a check mark on the box beside this option.
- Click “Next”
- A brief introduction about what the Active Directory Domain Services does will show up, so read this information then click on the “Next” option once your done
- The “Confirm Installation Selections” is the next window that will appear that will ask you to confirm the installation of the domain services. Click on the “Install” option to begin the installation process.
- The installation process of the Active Directory may take a few minutes, so make sure that this process will not be disrupted
Step No. 5: Install the Active Directory Domain Controller
The fifth step in this Active Directory Tutorial guide is to install the AD Domain Controller after the successful installation of the Domain Services.
- Click on “Active Directory Domain Services” on the “Server Role” interface
- Click on the blue link (“Run Active Directory Domain Services Installation Wizard”) on the pop up message
- Once the dcpromo.exe comes up, select the “Use advanced mode installation” option then click on “Next
- Read the information about “Operating System Compatibility” then click “Next”
- Choose between the “Existing forest” option or the “Create a new domain in a new forest” option then click on “Next”
- Enter a name for the forest root domain then click “Next”
- If the name you entered is available, the next window that will appear will ask you to enter your NetBIOS name. The default name is fine, so click on “Next”
- Choose the forest functional level that you prefer then click on “Next”
- Dcpromo.exe will check on your DNS configuration, and since you already did that, click on “Next”
- Choose the option for the use of “static IP addresses” then click on “Next”
- Click on “Next” on the window for setting the AD location
- Enter and confirm your password for the “Restore Mode Administrator” screen then click “Next”
- Click “Next” on the “Summary” pageOn the “Completion” window click on “Finish”Restart your computer
This is the step by step Active Directory tutorial guide that will help you install AD into your system without any problems. As long as you follow steps one to five, you can easily and successfully install Active Directory into your system.
Active Directory Overview
Active Directory is a system created by Microsoft to provide different network services such as LDAP directory services, DNS naming, Kerberos based authentication, secure access to information and more. It uses a single Jet database which a variety of services and applications can utilize to access and save a variety of data. Its components include the domains, domain controllers, trust relationships, forests, organizational units and more. Active Directory is used by various types of size and environment from a home network to a hundred of thousands of environment.
Setting up Active Directory is not a difficult task. However, many people experience problems in installation after setting it up mainly because they overlook to carefully plan their implementation of DNS.
The most important and the first step of the process in installing Active Directory is carefully planning your DNS implementation. Active Directory cannot be present without DNS, so it is worth giving your attention to. On a sad note, in their search for simplicity, Microsoft decided that DNS would be installed promptly as part of the Active Directory installation process if you did not explicitly configure it ahead. Saying that, my advice is you always configure DNS manually before considering Active Directory. If you don’t, you might end up with a DNS implementation that does not meet what you want.
The next step to a proper Active Directory implementation will include installing and configuring the DNS. If you haven’t done this yet, add the DNS service to your server from the Windows Components option found in Add/Remove Programs in Control Panel.
When you are done adding DNS, the next step would be to configure a new DNS zone. The name of the zone is substantially important, and I generally suggest utilizing a “private” name for Active Directory, such as company.local instead of a public name that your company may have already used, for instance, company.com. This will give you assurance that both the internal and external hostnames are resolve correctly a soon as all is said and done. In this case, make a new zone called company.local with the DNS administrative tool. This is done by right clicking on Forward Lookup Zones and choosing New Zone. For those planning to install Active Directory with a bigger environment, there are available tutorials in the market to give you additional information about Active Directory and how it works.
Personal contact info – slikgepotenuz@gmail.com
Permanent Address :- Montville, NJ
CEO and co-founder at Cloudsmallbusinessservice.com